By: Jessie Kember, Ph.D.
Through the use of visual aids, this blog will help walk you through the new navigation in the FAST application that was launched on July 10th, 2017.
Getting Started
The FastBridge Learning website home page provides you with various pieces of information including company contact information, quick links to access our Twitter, Facebook, and LinkedIn pages, a link to log in to access your FastBridge account, as well as topics organized by helpful headers (i.e., assessments, reporting, research, etc.).
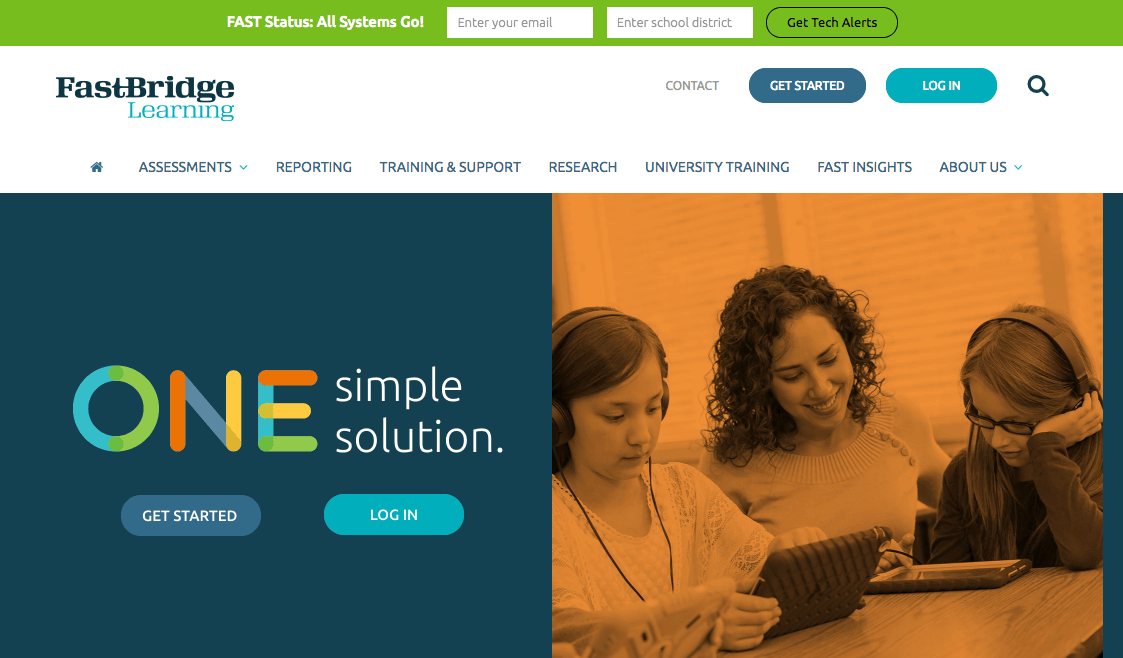
If you are new to the FastBridge Learning community, use the “Get Started” button to get more information. If you are a current user, use the “Log In” button to access your FAST application account.
Application Compatibility Check
On the log in page, we provide a quick and easy compatibility check. To run the compatibility check, scroll below the username and password boxes. There, you will find a button that says, “Run Compatibility Check.” This is shown below.
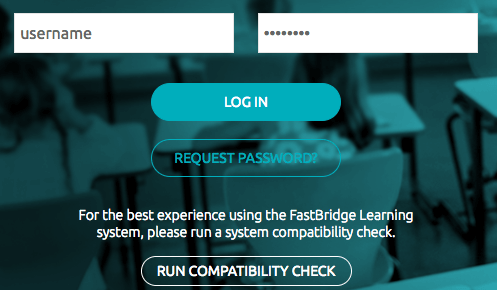
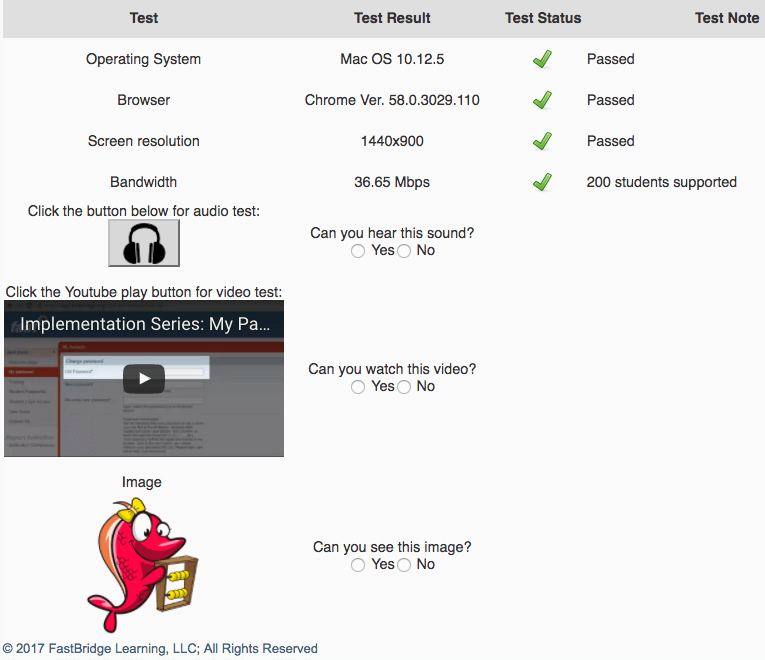
Select this option and complete the items provided in the newly opened web browser tab. This will ensure that you can effectively access all of the features that the FastBridge Learning website offers. If the compatibility check indicates that your computer does not meet the FAST application system requirements, contact your school or district technology support staff for assistance.
Annual License Agreement
After the compatibility check, return to the log in page. The first time you log in each school year, the click-through license agreement will appear. If you are a district manager, a one-time reminder at the start of each school year that the Master Account Administrator must log in and approve the annual district account terms and conditions will appear. Other users will see an abbreviated click-through license agreement. Please take a moment to read through the agreement, select one of two options provided, and select “Continue.” Selecting “I have read and understood and I ACCEPT this agreement” will allow you access to your account.
Application Navigation
Once you are logged in, the new home page will appear. Depending on the type of account you have, your home page may appear slightly different from the home page shown below. There are five different types of user accounts: district managers, school managers, specialists, classroom users (teachers), and group proctors. The following example is for a Specialist account.
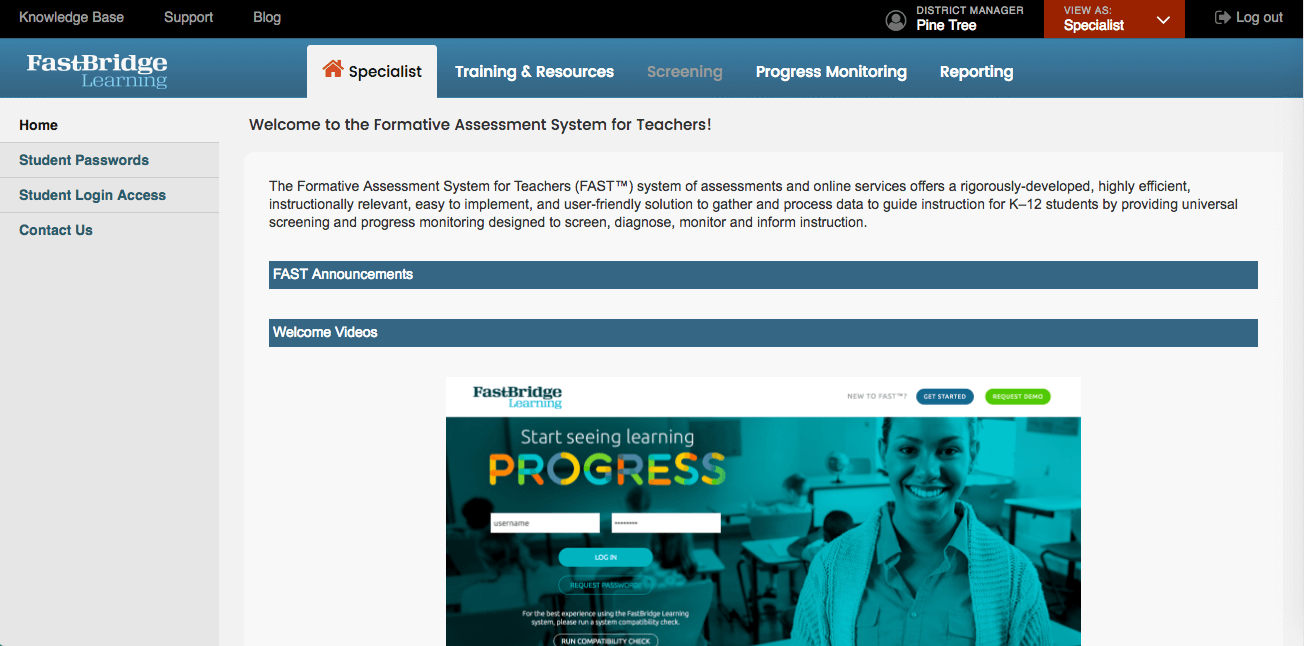
A 10-minute introductory video that describes the FAST application features and how to navigate the interface is provided, as well as a number of other introductory videos.
To log out of the FAST application, navigate to the upper right hand corner of your web browser. There, you will see a “Log out” icon ![]() . To return to your log in homepage, you may access the “Home” link, which can be found on the left-hand side of your web browser. Headings below “Home” include:
. To return to your log in homepage, you may access the “Home” link, which can be found on the left-hand side of your web browser. Headings below “Home” include:
- My Password: This link allows you to change your current log in password.
- Contact Us: Selecting “Contact Us” will open a new tab in your web browser. There are various headers to help you navigate troubleshooting solutions by keyword, or you may enter your own search term of interest in the box provided.
-
- To submit a question, select “New support ticket,” which will redirect you to a form where you can submit your question. Provide your name (“Requester”), the subject of your question (“Subject”), and any details you can provide (“Description”) to help our school support team members find the quickest solution for you. If a screenshot will help to provide additional information regarding your question or topic, please select “Attach a file.” Once you “Submit,” you may view the status of your open ticket(s) by navigating to the Knowledge Base using the Contact Us button. This same page can be accessed via two links: the “Tickets” icon, or the “Check ticket status” icon.
Specialists will have the following additional options:
- Student Passwords: This link allows specialists to create and manage students’ passwords. In order for students to log in, individual passwords must be set up for each student. To do this, select the School, Grade level, and Staff person (i.e., name of the classroom teacher), select the student(s) of interest, and select “Generate password.” You may also search for an individual student using the “Search” box provided.
- Student Login Access: In addition to creating student passwords, the assessments that students will use need to be made available in their accounts. This menu allows selection of which assessments will be available for specific students.
By returning “Home,” there are three icons provided in the top, left-hand side of your browser in the black menu bar. These are shown below.
![]()
- Knowledge Base: This link will navigate you to the same location as the previously described “Contact Us” option. This is the best place to learn about FastBridge Learning assessments and features.
- Support: This link will navigate you to the same location as the “New support ticket” option previously described.
-
- To edit your user account profile, find your name in the upper right-hand corner of your web browser page. Here, you will find an “Edit profile” option. This will allow you to provide a profile photo, title, email, phone numbers, twitter, company, time zone, and preferred language. Once the desired information has been entered, select “Save Changes.”
- Blog: Our weekly Blog, also known as FAST™ Insights can be found here. We have regularly published blogs written by various experts, including those who serve as practitioners, researchers, service coordinators, as well as a number of other professions. Published since May of 2012, our blogs offer insight on a range of professional development topics. You can subscribe to FAST™ Insights by providing us with your email address, and selecting “Sign Up.” Look for the teal box on the right-hand side of your browser as you scroll down (Directly above “What Educators are saying”). This is shown below.
- Chat: A fourth icon may appear in your black menu bar during the school day. This icon only displays when the chat feature is available. This icon allows you to chat with FastBridge school support staff.
- Depending on your role, a “View As” link option may be available in your black menu bar. This tool allows district, school, and specialist users to view the account features for other users.
Selecting the home icon (next to your role) will redirect you to your user account role home page, which includes various system updates and other notifications. The remaining options are briefly described below and open menus related to a number of system functions.
- Training & Resources: Our most recent online self-paced training modules and downloadable resource materials can be found in the Training and Resources tab. Each module includes 9 lessons. These include practice and certification activities.
- Screening: In the teacher view, this tab opens a list of all students assigned to the teacher for screening. The students are listed on the left and there are clock icons that the teacher selects to initiate assessment for each student. There is an online training module on Screening also available.
- Progress Monitoring: Here is where you can manage all of your progress monitoring activities. Progress monitoring groups are organized into two groups: academic, and behavior. To create a new progress monitoring group, select “New PM Group.” Existing progress groups will be visible here. There is an online training module on Progress Monitoring also available.
- Reporting: The Reporting tab allows you to view and print Group Screening Reports, Group Growth Reports, Impact Reports, Individual Skills Report, Group Skills Report, Individual Benchmark Comparison Report, Progress Monitoring Report, Screening to Intervention Report, and Certification Reports.
- Aside from the training modules that we offer, there are numerous “Downloads” available (See the left-hand side of your browser). These include, a document that summarizes the administration times for each of the assessments that we offer, which include: student and administrator assessment protocols, sample parent letters that schools can send home, and summaries of our assessments.
- Also available in the “Resources” Section are Benchmark & Norms documents. Selecting this option opens a new tab in your web browser that summarizes benchmark and norm scores for all FastBridge Learning assessments.
- Looking for other options regarding training and support? Click here. Aside from web-based learning, we offer onsite professional development opportunities, school and district manager training sessions, and one-on-one, step-by-step guidance through phone, email, or live chat options.
Key Visual Cues in FAST
Finally, below are some icons and images used throughout the FAST application. Knowing these icons will help you to easily navigate the application.
 : This icon indicates assessments in preliminary release but for which additional research data are being collected. As a user with an account, the assessments have been made available to you while data are still being collected, and validation and refinement is being completed. Examples include AUTOreading, REACT, CBMmath Process, CBMmath CAP, and COMPefficiency.
 : An aReading or aMath score with a flag next to it means that the standard error of measurement (SEM) is larger than usual. Based on the students’ response pattern with the difficulty level of items, the system was not able to get a precise score that accurately reflects the skill level. The student could have been distracted, unmotivated or the questions were too easy or too hard. There is a hover, when you put your mouse on the red flag on the screening page, that will give a brief description. In order to get a more precise score the student should complete additional items on in order to confirm the student’s current skills.
- Percentile rankings are color coded according to the following convention. Note that the color coding of percentile rankings does not correspond to risk. Instead, risk indicators use exclamation marks (see below). For example, score in the range of "some risk" (between the 40th and 15th percentiles) might fall in any percentile range.
![]()
- Growth percentiles are color coded, according to the following convention. Growth is important because all students need to make some growth each year and students who start out below grade level goals often need to make aggressive growth.

- Exclamation marks are used to indicate a student’s risk of not reaching year-end learning goals. Those students whose scores indicate meeting the Common Core State Standards are indicated with a white star and referred to as meeting the College Pathway.
![]()
The FastBridge team is pleased to release these navigation and design updates for the 2017-18 school year. If you are not yet a FastBridge user and would like more information about how your school or district can get started, please contact our sales team at sales@fastbridge.org. School support questions should be directed to help@fastbridge.org.


